Version Française
Supplies needed: I use PSP 7 but this tutorial can be done in other versions of PSP. Filters: Alien Skin Xenofex 2, Eye Candy 5 impact & Penta 1 Mask of Gems "gemsmask9.jpg" that you find HERE Take "Gemsmasks1" 1 Un scrapkit of Serenity Sheri's that you find HERE A font of your choice I have used "Scrap Spangled" 1 tube of your choice
I am
using a tube which is ©Elias Chatzoudis -
www. elias-design.gr
You can find some nice free tubes HERE but make sure that the artist is still Free To Use and has not gone Pay To Use! **************************** IMPORTANT
Tube of your choice. Whether free or not, the
credit must be given to the artist and NOT the tuber and should be
placed on your tag like this: ©Elias Chatzoudis - www. elias-design.gr - MPT4096 - Vivi tagger me If you make an IM letter or other stationery, you must give credit for the tubes & licence but also do credit the tut writer and scrapkit maker in the footer. Do not direct link to the tutorial THANKS!
Srapkit:
http://serenitysheri.blogspot.com/
**************************** Let's start! Shadows to all elements and tube: V 2 O 40 H 2 F 2 1. Open a new image 800x700 and fill with color #161624 Open your scrapkit and open the Background "st_patrioticpaper07"Layers-> New Layer and fill with "st_patrioticpaper07" Open your mask "gemsmask9.jpg" Then -> Mask -> New -> From a picture -> Ok. Then Masks-> delete. 2. Open "st_patrioticblingcluster01" copy paste as new layer and place it to the left as in my result.3. Open "st_patrioticframe02" and copy and paste-> Image-> Flip and place to the left as in result.Take your lasso tool with the following configurations: Free Hand and Progressivity: 0 and go around the star. Once you have gone around, add a new layer and fill with # 8C0D14-> Effects-> Texture Effects-> Store with the following configurations: Width: 2 Color: blanc Opacity: 16 And check the 2 boxes OK.
Deselect and drag this layer underneath your star.
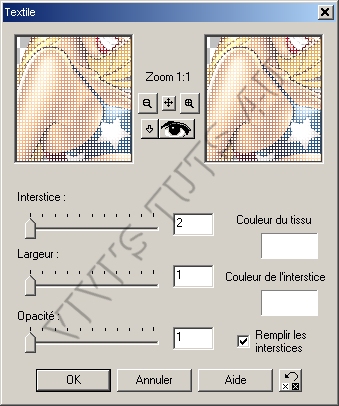
Click on the 2nd duplicated layer -> Effects->Texture Effects->Weave with the following configurations: 5. Copy paste your tube and place on the right as in my results above.Then do -> Effects-> Filters-> Alien Skin Eye Candy 5 impact-> Perspective Shadow with the following configurations:
6. Open "st_patrioticbutterfly01" "st_patrioticstar01, 02 and 03" Resize the butterfly to 40% and then Image-> Rotate Right-> Free - 20 and ok.Copy paste as new layer in the upper left. See my results above. Resize star "st_patrioticstar01" to 40% and the star "st_patrioticstar02" to 50%. Copy and paste as new layers and position them as in my result. Resize star "st_patrioticstar03" at 60% copy and paste it into your Animation Shop - we'll use it later. *********************** Now turn to the text: My font Scrap Spangled size 48.
Set the foreground color to # 161624
and background to "st_patrioticpaper07" like this:
Open a new image 800x700
and make a circle with the tool-> Predefined Form and
check
anti-alias and vector and make your circle as large as the tag. Resize your tag to 80%. Add the credits and let's animate *********************** Animation
Click on your mask layer and resize your tag if necessary,
removing any excess. Do-> Layers-> Merge->
Merge visible and copy and paste in Animation Shop. Click on the star you pasted in AS earlier and apply an effect on it-> Effects-> Insert an effect on an image with the following configurations:
***********************
-> Martine's site:
Chez Martine
<- Background : tube ©Elias Chatzoudis - www. elias-design.gr |