Supplies needed: I use PSP 7 but this tutorial can be done in other versions of PSP. Filters: Xero: Fritillary and Radiance - Eye Candy 4000: Gardient Glow A mask by Vix "Vix_Mask428" to be found HERE A template by Ali "DBA XMAS TEMP 2010 _1" to be found in the zip. Snow and Template HERE A picture of your choice with permission to use - there are some here Stock.xchng. Look under Nature / Seasons / Winter on page 11 there are two beautiful pictures "bird table et Owl" that may be suitable.
I use a tube ============================================================= IMPORTANT Tube of your choice. Whether free or not, the credit must be given to the artist and NOT the tuber and should be placed on your tag like this:
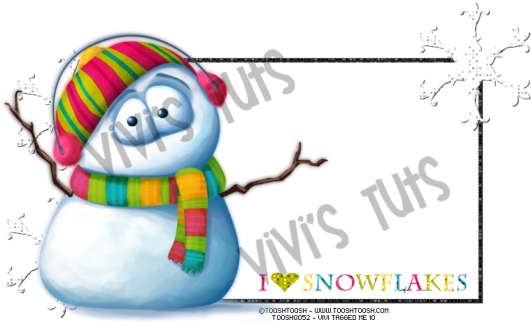
©Tooshtoosh -
www.tooshtoosh.com -
Toosh0052
If you make an IM letter or other stationery, you must give credit for the tubes & add your licence but also do credit the tut writer and scrapkit maker in the footer. Do not direct link to the tutorial THANKS!
Crédit of tuto:
http://vivistuts4u.com
Drop Shadow I have used throughout:
V 4 - O 58 =============================================================
Let's start!
Open a new image 600x600
and fill with the color you want. I used the blue from my tube: #
31739D =============================================================
2.
Close all layers except the background, masks and raster5.
Deselect and add the filter Eye Candy 4000
-> Effects-> Filters-> Eye Candy 4000 -> Gradient Glow
as follows:
V 4 - O 58 Do the same with the other layers: Raster 6.9, 8 and 7. ============================================================= 3. Raster 2: Selections-> Select All-> Selections-> Float-> Selections-> Defloat. Layers-> New Layer-> Selection-> Invert Copy and paste the image you want and delete the surplus with the SUPPR key on your keyboard, do not deselect and paste your tube, remove surplus with the SUPPR key.
Add an effect on your tube do->
Effects-> Filters-> Xero-> Radiance: Delete these layers 2, 4, 11 et 13. =============================================================
4.
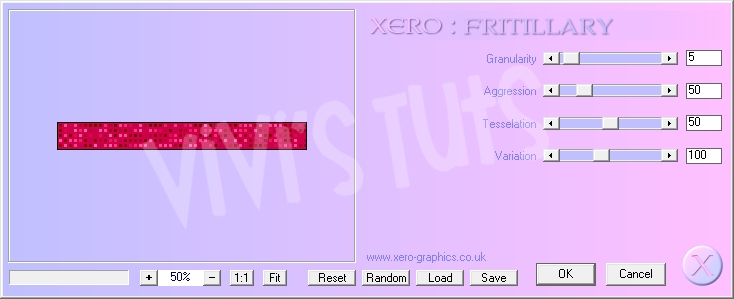
Raster 12: Apply the Xero filter: Fritillary
and Eye Candy 4000: Glow gardient twice
with the same settings as in step 2. On the tag above I deleted it but kept it on the tag below, at the end of the tutorial. Apply the same effects (Fritillary and Gradient Glow) to it. And I wrote my name. See my results below. =============================================================
5.
Raster 10 to apply the filter Xero: Fritillary
always with the same settings in Step 2.
=============================================================
6.
Leave Raster 14 as is and move onto Raster 1. If you want to colour each letter individually as I did, select your letters one by one with your lasso tool. Add the Xero: Fritillary effect and then Eye Candy 4000: Glow gardient See step 2. =============================================================
7.
Copy and paste your tube as new layer and place it towards the left, then
duplicate and back to the original tube add a Gaussian blur.
V 4 - O 58 Resize your tag at 80% if you wish and add your credit on your tag. ============================================================= 8. Animation
Close all the layers from the top to the frame
included, you must have this:
Click on Layers-> Merge-> Merge visible. Copy and
paste in Animation Shop and duplicate your image 9f times, you must have 10
pictures in all:
Then Edit-> Select All. Open your snow inAS and do
Edit> Select All.
Go back to PSP, close the layer of your merged
image and open all the other layers above. Merge them visible.
Copy paste this new merged image in Animation
Shop. Click on the first frame - > Select All and Copy Make sure everything is as you wish and save. ============================================================= Another example:
============================================================= That's it, I hope you enjoyed this tutorial. See your soon!
-::-
Tutorial written by
Vivi
Tuts 4U on 28/11/2010 -::- |