Ce cluster pixel vous est offert par
Moi
-
This cluster pixel is
given to you by
Me
Vous avez le droit
d'enlever
ou
déplacer les éléments ŕ
votre goűt et de choisir votre thčme.
Pour le Wordart j'ai
utilisé la Police:
Miserably Lose
taille 24
You have the right to remove or move the
elements to your liking and to choose your theme.
For the Wordart
I used the Font:
Miserably Lose size 24
Vous trouverez le matériel
ici:

You will find the supplies you need here:

Important :
Ce tuto a été créé pour le groupe
de
PSP 4 ALL.
Ne partagez pas ce lien avec des gens qui ne sont pas membres du groupe.
Merci.
This tutorial was written for
members of
PSP 4 ALL only.
Please do not share the link with people who are not members.
Thank you.
Le résultat de ce tutorial
vous appartient.
Vous pouvez en faire des signatures pour vous et vos amis, des websets, des adoptions.
Mais votre résultat final ne peut pas ętre offert en tube, gratuit ou non, sur
votre site.
Vous devez suivre le tutoriel
qui vous aidera ŕ devenir plus ŕ l’aise avec le "Shading"
N’oubliez pas de mettre les crédits sur vos créations, si c’est un papier ou autre
merci !
The result of this tutorial is yours.
You may make sigs for you and for friends, websets, adoptions.
But your final result may not be tubed to be then offered for download for free
or not on your site.
You must follow the tutorial
which will help you become more confident with “Shading”
Do not forget to put the
appropriate credits on your creation, if it is a paper etc.. Thank you!
https://vivispixelshops.com/
Je vous demanderai seulement
d'utiliser
d'autres couleurs que les miennes,
c'est juste pour qu'ils ne soient pas tous pareils sur la page Résultats. Merci.
I would only ask that you you use
other colours than mine,
it is just so that they don't all look identical on the Results page. Thank you.
Vous trouverez dans le zip le
matériel dont vous aurez besoin.
You will find the supplies you need
in the zip.
|
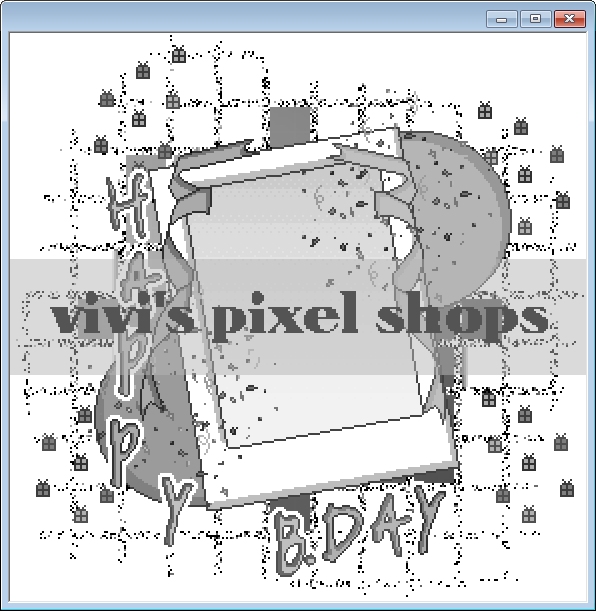
 Couleur du masque. Couleur du masque.
Cliquez sur le calque
"Mask"
et faire: Calques->Dupliquer->
Sélections->Tout
sélectionner->Sélections->Rendre flottante->Sélections->remettre ŕ l'état
statique->Calques->Nouveau Calque->et remplissez avec la couleur de
votre choix. Désélectionner-> Dans la Palette Calques, faire clic droit sur
le calque (Mask2) > Propriétés et mettre le Mode Mélange sur Recouvrement.
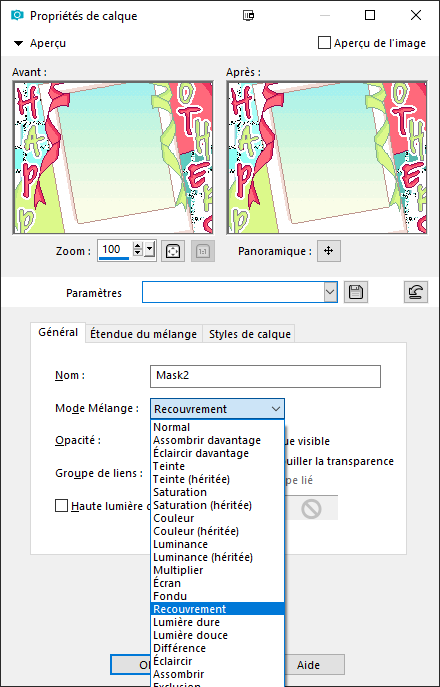
Ne pas supprimer le
calque d'origine.
|
 Mask
Colour. Mask
Colour.
Click on the
Mask layer and click on
Selections > Select All.
Selections > Float. Selections > Defloat.
Layers > New Raster Layer and fill with the colour of your choice. In your
Layers Palette, click on this layer (Mask 2) and set the Blend Mode on
Overlay.
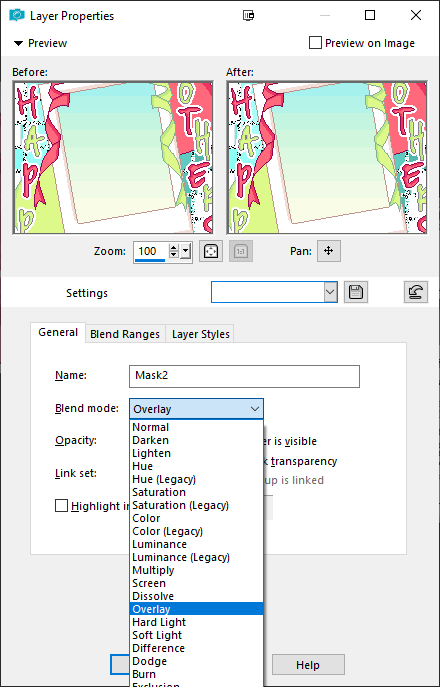
Do not delete the original
layer.
|
Cotillons -
Party Poppers
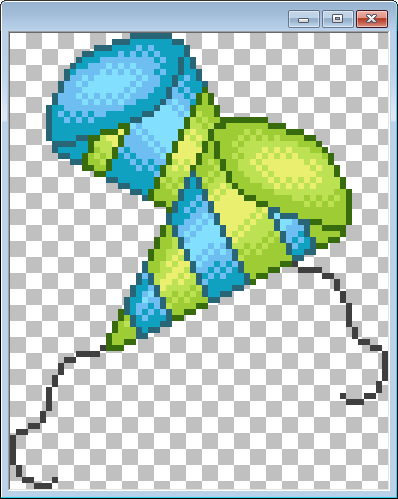
Ajoutez
les tubes de votre
choix - Add the tubes of
your choice.
Enregistrez votre travail, c'est terminé. J'espčre que ce tuto vous
a plu!
Save your work I hope that you have enjoyed this tut.
Tutorial written by
Vivi
- May 1, 2021

